I've seen different clipboards that have been taken from plain old brown and turned them into decorated cute clipboards. I've been looking for different things to make for a craft booth that I want to attend this summer and for my etsy website.
I only bought one clipboard from Walmart, because I wasn't quite sure of what I was getting myself into. I had my husband help me make a template for the clipboard. I've seen where they have just cut a rectangle around the clip and the. The ribbon hid the cut, but I'm on the anal side and wanted it to wrap around the clip.
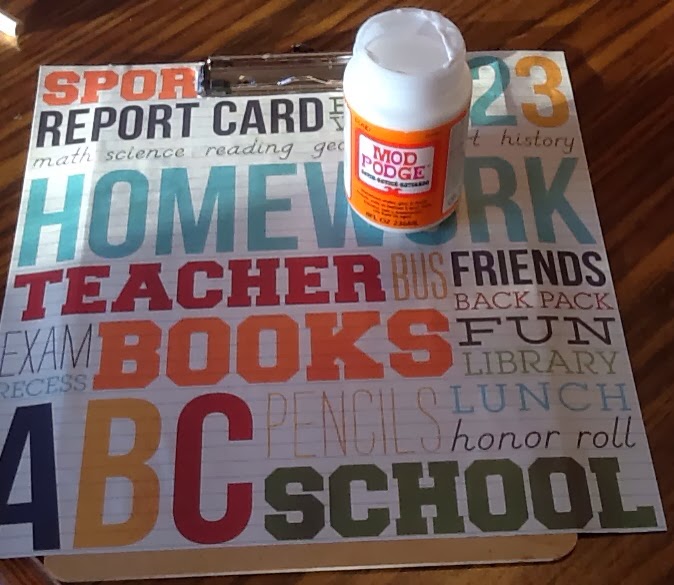
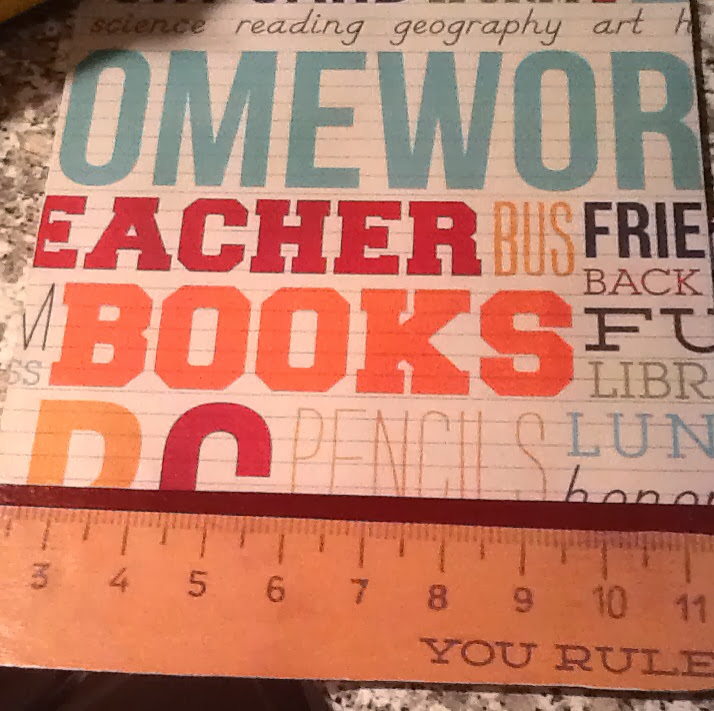
I went to the local craft store in town and bought some paper and mod podge.
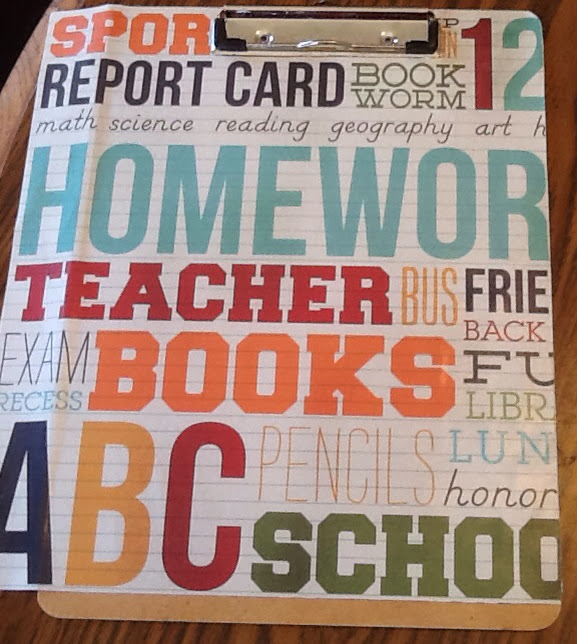
When I started, I painted the entire board and then tried to slide the paper up. That did not work very well. Next time I will slide the paper under the clip and then put on the mod podge. Once I had painted underneath the board, I painted the top of the paper to make it stronger. I let it dry for quite awhile. Then I started the sanding process. I sanded around the sides of the board to make it nice and smooth and also to get the extra paper off. Here is what it looks like so far.

I also learned that if you use thick cardstock, it doesn't sand very well.
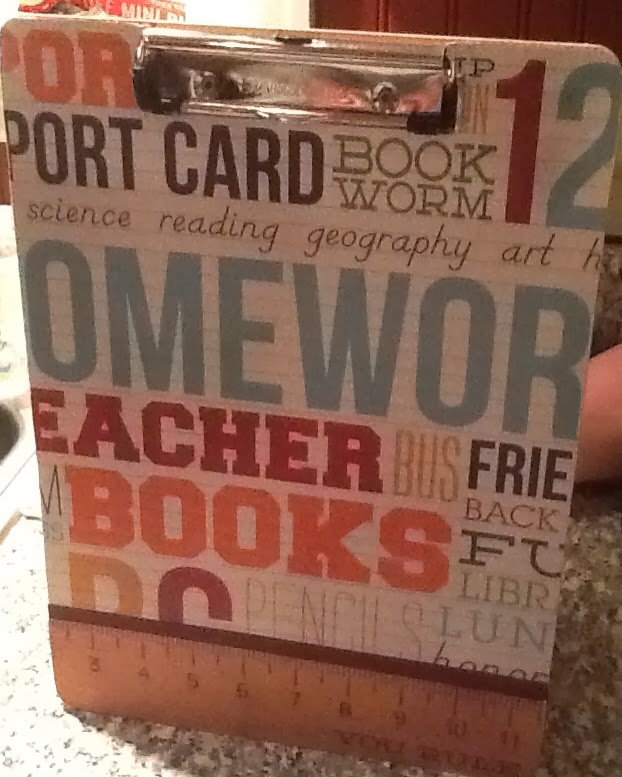
This as far as I got today. More to come! Need to work on the back and the ribbon. Stay tuned.